Quilted Fabric Cards
Anyone would be happy to receive a quilted fabric card. They are simple to make and can be popped in the mail with a regular stamp...unless you make a large card.
(This technique was learned through classes (Superior University) given by Superior Threads.)
This is how to get started.
Purchase blank cards/envelops from a local craft store such as Michaels. Sizes are approximately 4 ½" x 5 ½". Should you choose there are larger ones.
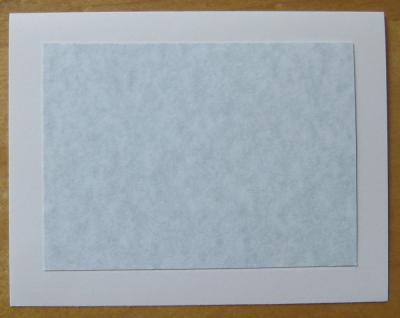
From a piece of cover stock, but a rectangle 3 ¼" x 4 ½". Adjust the size so that the card itself frames the card stock as shown in the picture.

Place the cover stock on top of your chosen fabric and cut fabric out about a half inch away from all four sides.

Next, cut a piece of low loft (thin) batting the exact same size as the card stock. Do not add any extra. The pictures shows the card stock 'peeking' out so you can see they are the same size.

Place fabric, wrong side up and center the batting and cover stock on top.

Use a glue stick on all four corners of the cover stock and turn all four fabric corners over so that the outer fabric edges form a 45º angle.

Finish gluing/turning the rest of the edges. Next comes the quilting. Yes you can quilt the three layers to include the card stock. You will need a 90 stop stitch machine needle. Variegated threads seem to work very well. As for the quilt design you can follow the image of what is printed in the fabric.

The quilting isn't finished on this sample but to give you an idea how to following petal designs.
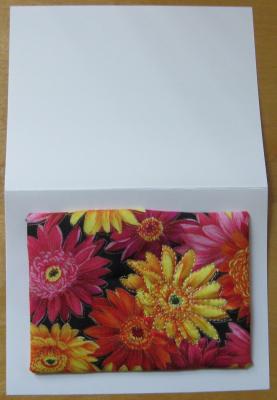
Next is to center the quilted piece and attach it to the front of the card. That can be done in a few ways. Just glue the quilted card to the front of the card or stitch it to the card. Make sure you open the card before stitching!
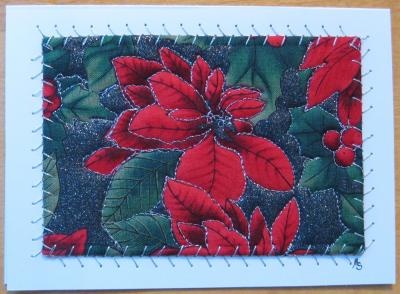
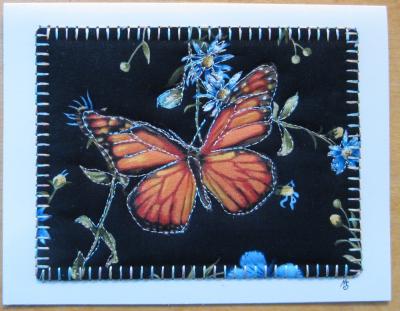
Here are some samples.